


Don’t let potentially damaging and expensive leaks throughout your home take your wallet by surprise.
Instead, protect your home — and your budget — with a caulk that lasts. Silicone, which is durable and waterproof, will repair small gaps that can balloon into expensive repairs and seal miniscule unseen cracks that can elevate utility bills. Here’s how:
Find the culprits — Finding leaks is as much damage control as it is home energy control. Rain and snow can seep in and affect insulation and electrical wiring, a lot of which runs through attics and in unfinished basements and can mean pricey repair bills if damaged. So check attics, basements, gutters and roofs in addition to windows and doors.
Choose a caulk that can withstand Mother Nature — Not all caulks are created equal, so go beyond the advice to simply “seal gaps and cracks” and use 100-percent silicone. Leaks frequently occur in and around homes in places prone to extreme temperature fluctuations, moisture, humidity and damaging UV rays.
Impervious to these damaging conditions, silicone caulk remains permanently waterproof and won’t shrink or crack. In fact, 100-percent silicone remains unaffected by all weather and temperature conditions, so it provides long-lasting energy savings and seals money-zapping gaps and cracks. Conversely, degraded acrylic caulk can crack and crumble over time, leaving gaps for air and water to seep through.
Those leaks can lead to water damage, mold growth and higher energy bills.
Get to work — It’s best to work with caulk in above-freezing temperatures and clear of snow or ice. First, clean the surface. Remove old caulk, dirt and loose particles with a caulk-removing tool or wire brush. Make sure the surface is dry.
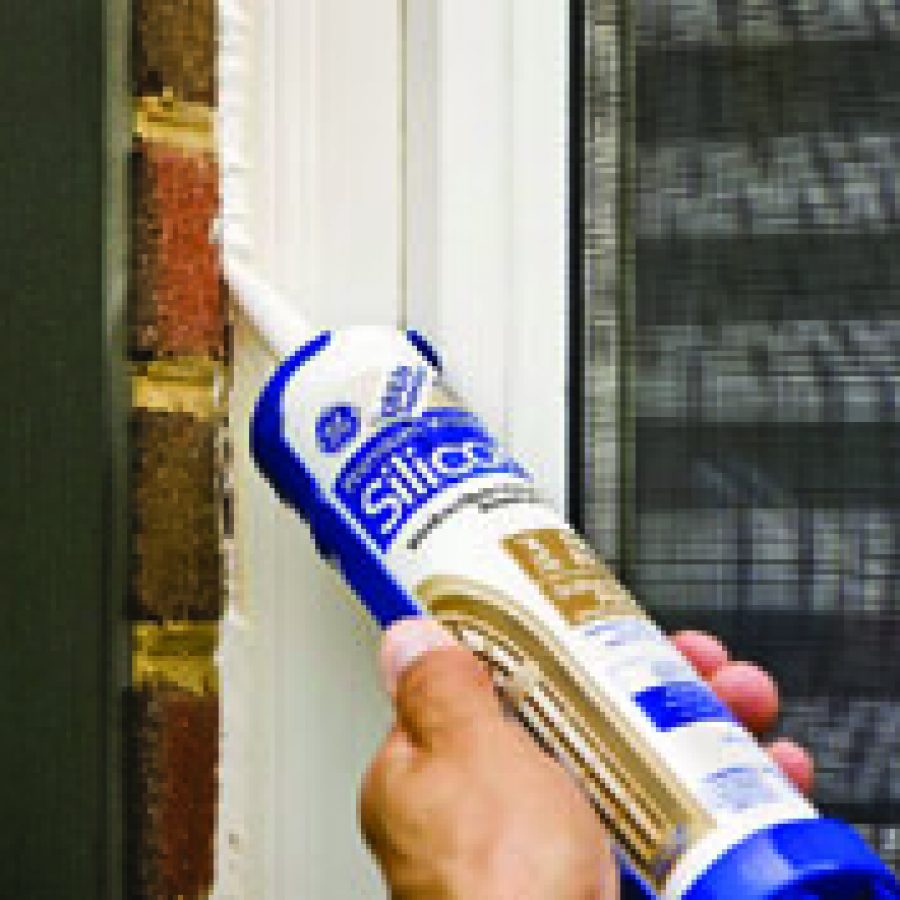
Next, apply painter’s tape to either side of the joint to create a straight edge. Prep the tube and seal. Cut the nozzle to the desired bead size. Pierce the inner seal with a stiff wire or similar object. Insert the cartridge into the caulking gun. Hold the caulking gun at a 45-degree angle and seal around spaces. Keep a steady, constant grip.
Smooth the caulk seal. Use your finger or a wet caulk-smoothing tool within two to five minutes of application. Remove the painter’s tape immediately after smoothing caulk. Use mineral spirits to clean up.